Thursday, 9 April 2015

Is a wedding on the way?


As the wedding season is approaching, thought I'd try to make one, as not something I have really done before.

I just love this design and altered it for a wedding.  I found this card fold on Dawn's Griffith's site - isn't it just beautiful?


It is really simple to make, and I am sure it can be adapted to any occasion.

Dimensions Used -all in inches

Main Card - cardstock 11" x 4 1/2" - score on long at 5 1/2 and 2 3/4 and folded into z-shape
Inside Large pieceWhite 4 1/8 x 5 3/8  DSP 4 x 5 1/4
Inside and outside panelsWhite 2 5/8 x 4 1/8  DSP 2 1/2 x 4  (remember need 2 of each)
Small Card:  Cardstock: 3 3/4 x 7 1/2 scored at 3 3/4 :  White 3 5/8 x 3 5/8 (you will need 3 white)
Front Flap - I Used Cardstock; 1 5/8 x ? and DSP 1 1/2 x ?  Yes there is a ? because you can make it as short or as long as you desire!  I used 3" as the length as I used the 1 3/4" scallop punch, and it seemed to fit well. The punch you use, may affect how long you have your front flap.

As for the DSP (designer series paper) I just love the Something Borrowed paper from the Spring/Summer catalogue and think that the Sahara Sand Lace Trim, also from the Spring/Summer catalogue, adds that little bit extra.

The stamp sets used are Everything Eleanor for the flourish, Petite Pairs for the sentiment and the glasses come from the Happy Hour set, a set that covers from Christmas to Cheers!
 
I hope that you like this design and there is a video on Dawn's site to help with the making of it.
 
Happy Crafting and for everyone getting married this wedding season - congratulations!
 
 
Sarah
 
Search my shop from the front screen if any of these products interest you! Or email me directly.


Saturday, 4 April 2015

Self Closing Box


I was introduced to this really cute little box at a recent training day. 


This was the I swop received from Sara Thornton-Bryar and I fell in love with it.


 Well me being me, I needed to figure out how it was made.  Sometimes, I take projects apart to figure them out but this was just too cute to do that to. So out came the ruler and few pieces of scrap paper and I think I figured it out - or at least I have made one that works for me. 

Here are the dimensions I used;


I found it easier to mark a small pencil mark at 2 1/5 cm and 5cm and use the scoring tool and a ruler to make the score lines. Also I only very gently burnished the score lines - I sometimes find paper can split if you are too forceful.

Thought a few photos might help with your creating
Remember to glue the right side of the paper and then close onto it

The bottom might need a bit of trimming so as to not hang over the edges


It self closes so needs nothing else other than the tension that comes from the box - very clever!


They are so quick and easy to make, and also fit an Easter egg beautifully. Final size is about 5cm wide by 6 1/2 cm high - I made a selection to give to my toddler playgroup leaders and they loved them.


Let me know if the brief instructions make sense and I would love to see any creations you make.

Happy Crafting


Sarah


Friday, 3 April 2015

Baskets with Envelope Punch Board


If you ever thought that the Envelope Punch Board (EPB) was just for making bespoke envelopes you'd be wrong.  It is a fantastic tool that can make so much more...check out these cute baskets. Have to say thanks to Elaine Erksine for introducing me to these.

Large Basket

Large Basket - final basket measure approx. 6 1/2 " x 2 " x 2 "


Small Basket - final basket measures approx 2 1/2" x 1 1/4" x 1 1/4"


Super quick and easier to make than you think.  A few people have asked for the instructions, now while it's not my strong point...I'll give it a go!


Take a piece of cardstock; 4" x 4"for the small basket OR 8" x 8" for the big basket


Using the Envelope Punch board, punch at 1 1/4" for the small basket OR at 2" for the big basket; Make sure that you punch and then score down the score mark on the EPB.  Follow the instructions on the EPB and punch each side, till all 4 are done.

 
I then flip the paper over and then punch on again at 1 1/4 " for the small basket and 2" for the big basket...then follow though on each side... the final sheet should look like this.


Cut down two opposite parts as shown above and below....remember to burnish your score lines.

Glue the tab like bits on the ends that have NOT been cut


Stick these down

Now comes the fun bit...I find it best to put glue on the tab and then fold in the edges and put the tab over these...you need to fold the edges in enough to make the long side of the box - you can have it as wide as you like or as thin as you  like - just play around till you are happy. Also is you use Tombow rather than sticky strip you have a bit of time to adjust.


Hopefully, you can see on the left of the picture how the sides have been folded up and under the tab


Remember to add a handle..it works a lot better if you use something, a bone folder works wonders, to help curve the handle. This stops it being inflexible and causing creases.
Just realised missed handle measurements - for the large I used 8 1/4 " x 3/4" and this doesn't go all the way in the basket. For the small I used 5" x 3/4" and this went all the way down - give it a go and see what suits you.
 
Final step, attach handle inside the box and decorate as desired.

I used this basket at a recent training event as my swop and a couple of toffees fitted wonderfully.

I hope that this makes some sense and you can follow the notes...if not please let me know as I am finding my feet in explaining projects in text, I find visual demonstrations so much easier.


Happy basket making.

Sarah


Thursday, 2 April 2015

Easter Extravaganza - Beautiful holder for bunny

My kids love giving teachers gifts for any occasion, and Easter is no exception.  However with lots of teachers and teaching assistants the cost can add up, so the answer for me is all in the presentation.  Don't you think that this gifts look more expensive than 79p because of the presentation!  I do and so did the kids.


 It is really easy to make and used 1 piece of A4 paper cut in half vertically.  I then cut that to measure 22cm with a score at 4cm (longside)

To make the closure it is the Scalloped Tag Top punch - and you don't have to just use on paper that fits in the slots (which is only 2") you can use any width of paper.  You will just need to make sure you push the paper you are using all the way in, with the same amount on each side for a centre tag, and then punch as I have done here.


 Volia!


Then just cut the bits at the side off and you have the piece for your closing.


I then used a framelit to cut the square shape out the one piece of the paper; stuck the two pieces together by overlapping the 4cm pieces with some Tombow,, decorated the box, added the bunny and there you have it!

 Oh forgot to mention to make the frame piece you just use two different sized framelits, one of them is the framelit you used the cut the hole, the other a bigger one to give you the width of frame you desire.


Hope this makes some sense, next time I promise more pictures to add to the instructions!

Check in tomorrow to see how to make this cuts little basket.....


Happy Crafting

Sarah

Monday, 30 March 2015

Shhhh.. A special deal only from Papercraft Artistry

APPLIES FOR 31st MARCH ONLY

TO BE SAFE, ALL EMAIL ORDERS TO ME BY 9pm...DIRECT SHOP ORDERS BY 10pm


You all know that Sale-A-Bration ends tomorrow night..very sad!   So to make up for this until Sale-A-Bration 2015 ends I am offering, not Stampin' Up!, but myself, 10% off all orders over £50*....that is right 10% of all orders, and if you live within 10 miles of Reading and order directly from me, I will even cover postage!  It you don't live close you can still order from me and get the 10% discount, or if you just want to order directly from my shop please do so and I will refund 10% of your order (not including pp)

This offer also applies if you join up - currently £99 and you get £139 of product to choose + 2 sale-a=bration products or a kit + a free business kit + free pp .....This offer will need to go via my shop webpage and I would refund you the 10%.

What better way to get the final few things you need and also get a free Sale-A-Bration gift......What are you waiting for?

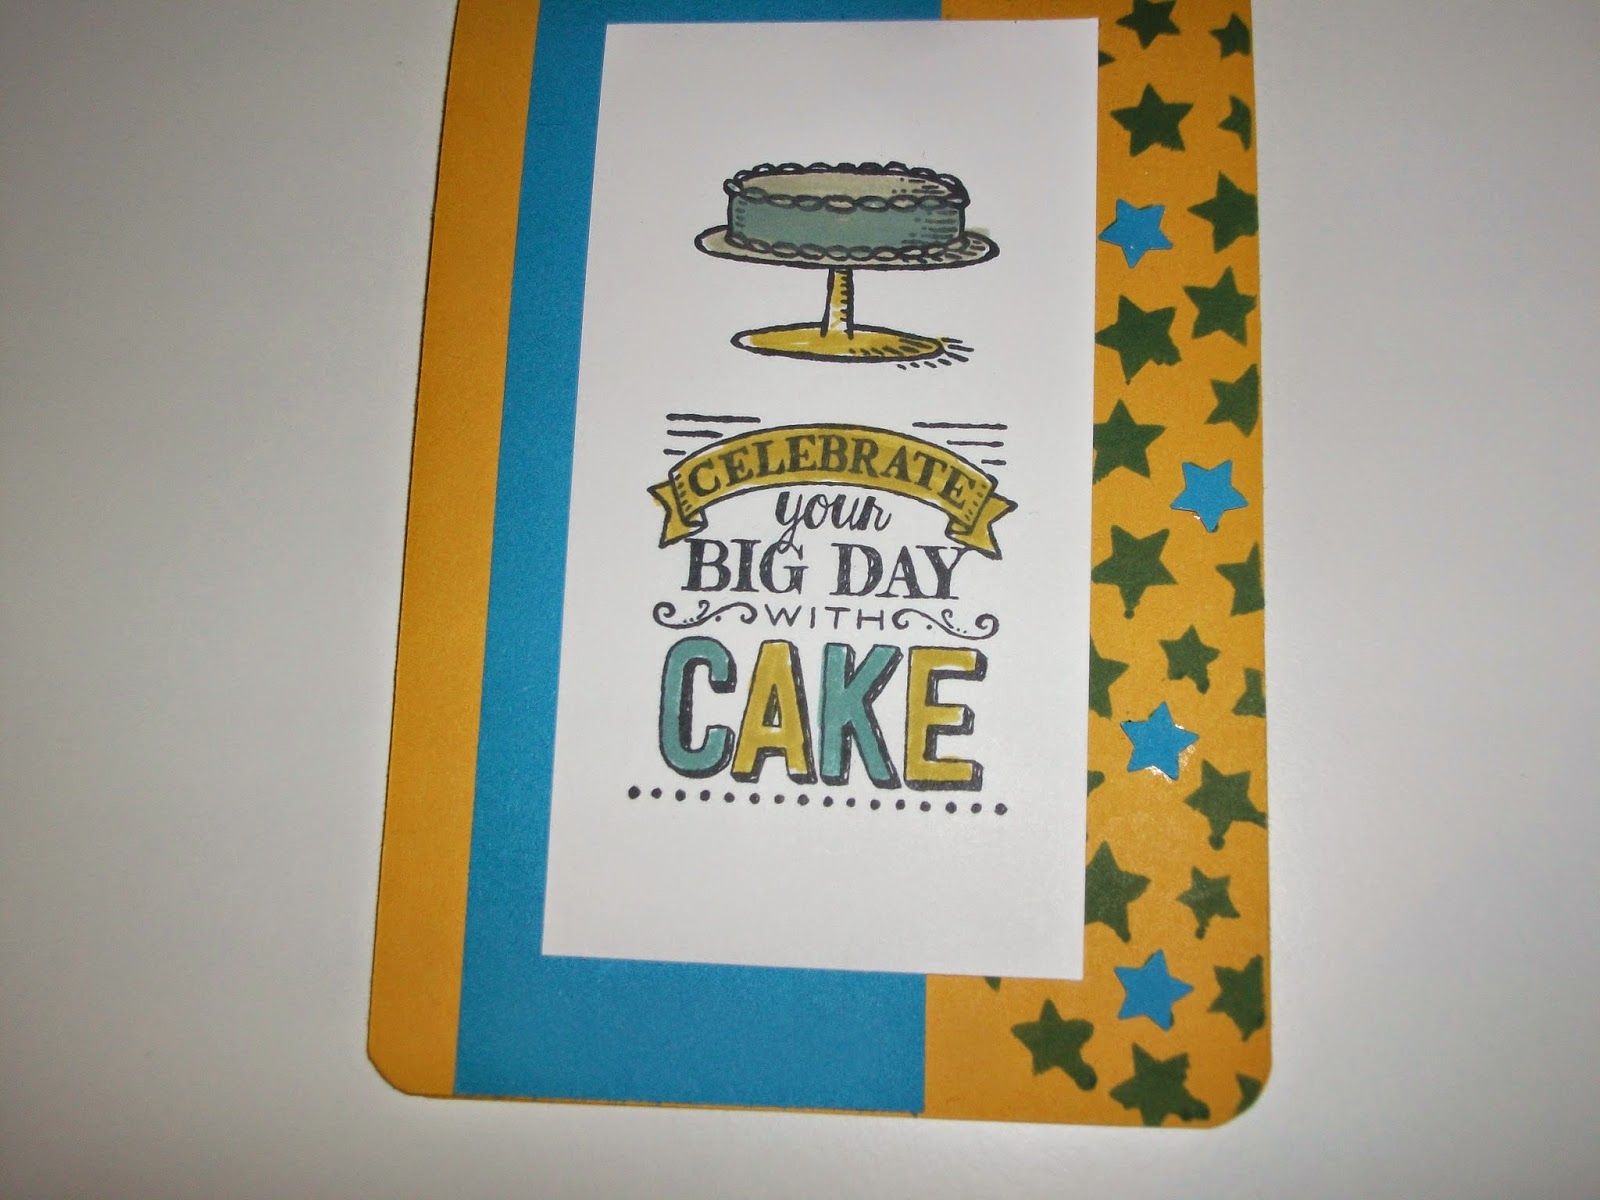
Contact me if you would like any more details, and to tempt you, a few cards made with one of the free Sale-A-Bration stamp sets - a fantastic fun birthday set!


Happy Crafting

Sarah


Key Facts on the 10% discount offer:
 
  • It is Papercraft Artisty offering this only. It is NOT a deal offered by Stampin' Up!
  • Minimum order of £50* excl pp (you will get your choice of Sale-A-Bration item for every £45 spent excl pp),
  • If you live within 10 miles of Reading, and order directly with me, not via the shop- you do not have to pay pp and I will deliver your purchase in person.
  • If you order directly via my shop, you will be paying pp and I will refund you the 10% excluding pp
  • Offer covers those who Join with Me, this needs to be done directly via my shop and you will be refunded the 10% on your £99, you will receive all the benefits you are entitled to.
  • 10% refund will be paid after returns period, to ensure that only items kept by customer are included.
  • Offer only applies to those living in countries eligible to shop with a UK Stampin' Up! demonstrator.
  • Exchange rate will be based on the day the discount is paid to the customer
* Maximum refund of £25


Saturday, 28 March 2015

Sale-A-Bration ends 31 March

Well, time has certainly flown and the countdown for Sale-A-Bration ending has started. Don't wait to order your £45 +pp before the 31st March and get a fanastic free item, do it today.  Stampin1Up! have added even more to the selection you can choose from, so don't forget to pop over to my shop and see what is there!

Happy Crafting

Sarah

Sunday, 15 March 2015

Happy Mother's Day, Decorative Masks


Just loved using the decorative masks that Stampin' Up! make, was my first attempt so pretty happy with it. Easy to use and cheap to purchase, only £2.75 for a set of two.

A bit of pink never goes astray and I have used the 3 colours for my 3 boys as I thought it might make a nice Mother's Day card from them.  They were thrilled to have a pre-made card to give me!.

Hope that your Sunday is a relaxing one wherever your are and whatever you are doing.

Cheers

Sarah